
mDIS Documentation Workflow
General
Until late 2023, these were the steps to follow to build and publish an update to the mDIS documentation webserver (opens new window).
| Workflow Sketch |
|---|
 |
| Update 2023: we now use the Automated Documentation Workflow |
Routine Steps
Setup for routine work - for experienced contributors
When you have everything in place, do this:
- Edit or add content to the documentation
- edit Markdown files (
.mdfiles) in an editor of your choice (VS Code, Notepad++, etc.)
- edit Markdown files (
- Convert Markdown to HTML
- with a static site generator like Vuepress (opens new window)
- use Vuepress as a command-line tool
vuepress build(rebuild everything. This is slower, takes ~ 1 minute.- (advanced)
vuepress dev(convert only changed files, incrementally, instantaneously)
Update 2023: this step is now obsolete!
On each commit, Gitlab CI/CD infrastructure takes care of uploading the static HTML to the webserver.
- Upload generated static HTML to webserver
data.icdp-online.org- these files are in the
.vuepress/dist/folder - as a shortcut, just upload the entire local folder in one go, overwriting the existing files
- from
.vuepress/dist/(local) - to
/data1/icdp/html/mdis-docs(on data.icdp)
- from
- use
scp, Filezilla, or any other tool that can upload files. - you should also upload any new or changed files
- such as image files (
.pngand.jpg),.cssfiles, and.jsfiles etc.
- such as image files (
- these files are in the
For new users and contributors
Initial setup
- install some tools (git, Powershell (on Windows), VSCode; a graphical git client, etc).
- customize the tools, in particular: enhance VScode with extensions, notably for Markdown editing (see end of this page)
- make a local copy of this git repo, with
git clone https://git.gfz-potsdam.de/icdp-osg/dis-docs.git(Or use "Open in your IDE") - Alternatively, a complete in-browser edit is possible, with Gitlab's WebIDE, but this is not recommended for larger changes. It is better to use a local editor. (And we cannot explain WebIDE here.)
Setup for routine work
Edit or add content to the documentation. See above.
- Some extra details:
- git-commit your local changes,
- this will set the "Last Updated" info in footer of web pages edited
- if possible, upload back to the remote git repo (
git push)
- obsolete: convert Markdown to HTML
- copy static HTML to webserver
- since late 2023, Gitlab CI/CD infrastructure takes care of HTML conversion and upload
Setup for occasional work
re-index the documentation, e.g. with Algolia, for the "Search here" feature- since late 2023, Gitlab CI/CD infrastructure takes care of this
- Generate a long, single-page PDF Document from the HTML pages (optional) with
Setup for one-off work
Some Specialized Subtasks
Tasks that are easily forgotten, rarely needed, or really advanced.
Some of these are explained in great detail at the end of this page, in Section "Step-by-step instructions".
Optional one-off task, on Windows: enable Powershell interactive scripting
- Optional, if you prefer to upload by script.
- Run once, as Administrator, on Powershell console:
set-executionpolicy remotesigned- This enables running Powershell scripts (
.ps1files) on your Windows computer.
ToDo: Also describe related one-off tasks, scripts and tools
- image-formattting tricks
- Styling and theming (editing
.stylfiles) - remove stale files (previous versions of images etc)
For admins: Sometimes it might be necessary to change and also directly upload files to the gitlab server/repo, In particular files that are not under version control (e.g. the
cpdfbinary), or that are not part of the documentation itself.
Alternative Workflows
- 4-eyes workflow for colleagues not familiar with git or gitlab
- Automated Documentation Workflow
Step-by-Step Guide for Windows
This is a detailed list of instructions of all installatation and configuration tasks needed to build and publish an update to the mDIS documentation.
This is written for a Microsoft Windows User.
Instructions:
Powershell
Run as Administrator
Powershell is a command-line tool. It is available for all versions of Windows. It even comes preinstalled with Windows 7, 8, 10 and 11. This preinstalled version is good enough for us.
- Optional: Install the most recent version of Powershell
- it has better support for Windows Updates, among other things.
- Download (opens new window)
- Click on "MSI package - The best choice for the everyday user."
- Install (opens new window)
- Not optional: Run Powershell as Administrator (opens new window) at least once.
- Setup Powershell: Any user can run Powershell interactively by typing commands in the Powershell window. However, by default, running Powershell scripts (
*.ps1files) is not permitted by Windows, as a security measure. - To change this restrictive setting, once and for all, for all users, you need Administrator permissions. Inside a second Powershell Window (started with "Run as Administrator"), you must execute this command at least once:
- Setup Powershell: Any user can run Powershell interactively by typing commands in the Powershell window. However, by default, running Powershell scripts (
Set-ExecutionPolicy RemoteSigned
You should be able to run *.ps1 files (scripts) now. This is important for future upload-tasks, and for customizing the Powershell prompt.
Customizing the Powershell prompt (part 1)
The default prompt is PS [UserName]@[ComputerName] [PID]>. This looks very ugly. It is better to change it to something more readable, such as: <Current Time> <hostname> <current git branch name>:. Thus, vou will always know which git branch you are currently in.
To do so,
Run the following commands in the Powershell Window (started with "Run as Administrator"):
install-module -name PSReadline
install-module -name oh-my-posh
install-module -name posh-git
2
3
Initially, these can take some time, perhaps a couple of minutes. They also require an internet connection, and you might be asked to confirm questions (Answer "Y" or similar).
These commands will install some extra free extensions to Powershell, so-called "Powershell modules". The commands will download them from a Microsoft web site (repository).
This repository web site is marked as "untrusted" by default, as a cautionary measure. Therefore Powershell will ask for confirmation several times.
Type "Y" at each confirmation dialog.
After installation of the modules, type exit, or simply close the Powershell window that was "Run as Administrator".
Regular Powershell user
After successful module installation, we can continue to customize the Powershell prompt.
Open a new Powershell window, as a regular user.
The next command will give you a one-line output, with the name of the file that Powershell reads at startup:
$profile
The file will be called something like C:\USERS\...\powershell\Microsoft.PowerShell_profile.ps1.
In Windows File Explorer, try to navigate to the directory C:\USERS\...\powershell\. Check that the powershell directory exists. If the powershell directory does not exist, create it.
Inside the powershell directory, if the file Microsoft.PowerShell_profile.ps1 does not exist, create it.
Open the file with Visual Studio Code, or any other text editor.
Inside that file, add the following lines:
Import-Module posh-git
Import-Module oh-my-posh
Set-PoshPrompt Honukai
2
3
Save the startup file.
Close the Powershell window, or type exit.
Open a new Powershell window, as a regular user.
This new Powershell will read in the startup file that we just created.
Then, in the Powershell window, you should see that the Powershell prompt was changed to something more readable:
TODO: insert screenshot of new prompt
Recommended: Make sure Powershell now also works properly from within VS Code.
Optional: Close VS Code. Open it again. Click the "Terminal" Top-Menu Item. Click on the "New Terminal" button. At the bottom of the page, inside VSCode, you should see a new Powershell window appear, with a customized prompt.
Use the mouse to navigate to the Terminal window. Try a few commands, e.g. get-help set-poshprompt, or (if git is already installed, and the current directory is under version control): git status.
Use CTRL-1 or use the mouse to leave the Terminal Window and switch back to the main editor window.
git
- Download Git for Windows from git-scm.com (opens new window)
- Run the installer.
- There will be many dialogs. You can always use the default values, and click "Continue".
- Confirm to add the git binaries to your PATH.
- Optional: Download a graphical git client like Git Kraken
- This is optional, because VS Code also comes with its own git support built in, and some VS Code extensions also provide advanced git support, e.g. for timeline visualization.
- Customize git by setting some global git settings. These will affect all future projects.
- Set the default email address to your email address
- Run
git config --global user.email "...@gfz-potsdam.de"
- Run
- Set the default name to your name
- Run
git config --global user.name "Your Name"
- Run
- Optional: Set the default editor to VS Code
- (if VScode is already installed):
- Run
git config --global core.editor "code --wait"
- Set the default email address to your email address
- put public SSH key into the personal settings of GFZ's Gitlab Software (if you don't have one yet)
- generate an Access token for simplifying the upload/
git push git clonethe mDIS documentation repository
Visual Studio Code
- Download VS Code from code.visualstudio.com (opens new window)
- Run the Installer.
- Confirm to add the VS Code binaries to your PATH.
- Open a Powershell Window as regular user
- Then you can just type
codeand hit enter.
- (Optional) Customize the user interface and some keyboard shortcuts
- Click Terminal / New Terminal to open a new Powershell window.
- Type
git statusand hit enter.
Markdown Extensions
This is optional, but recommended.
In 2022 I was using the following Markdown-related extensions for Visual-Studio Code:
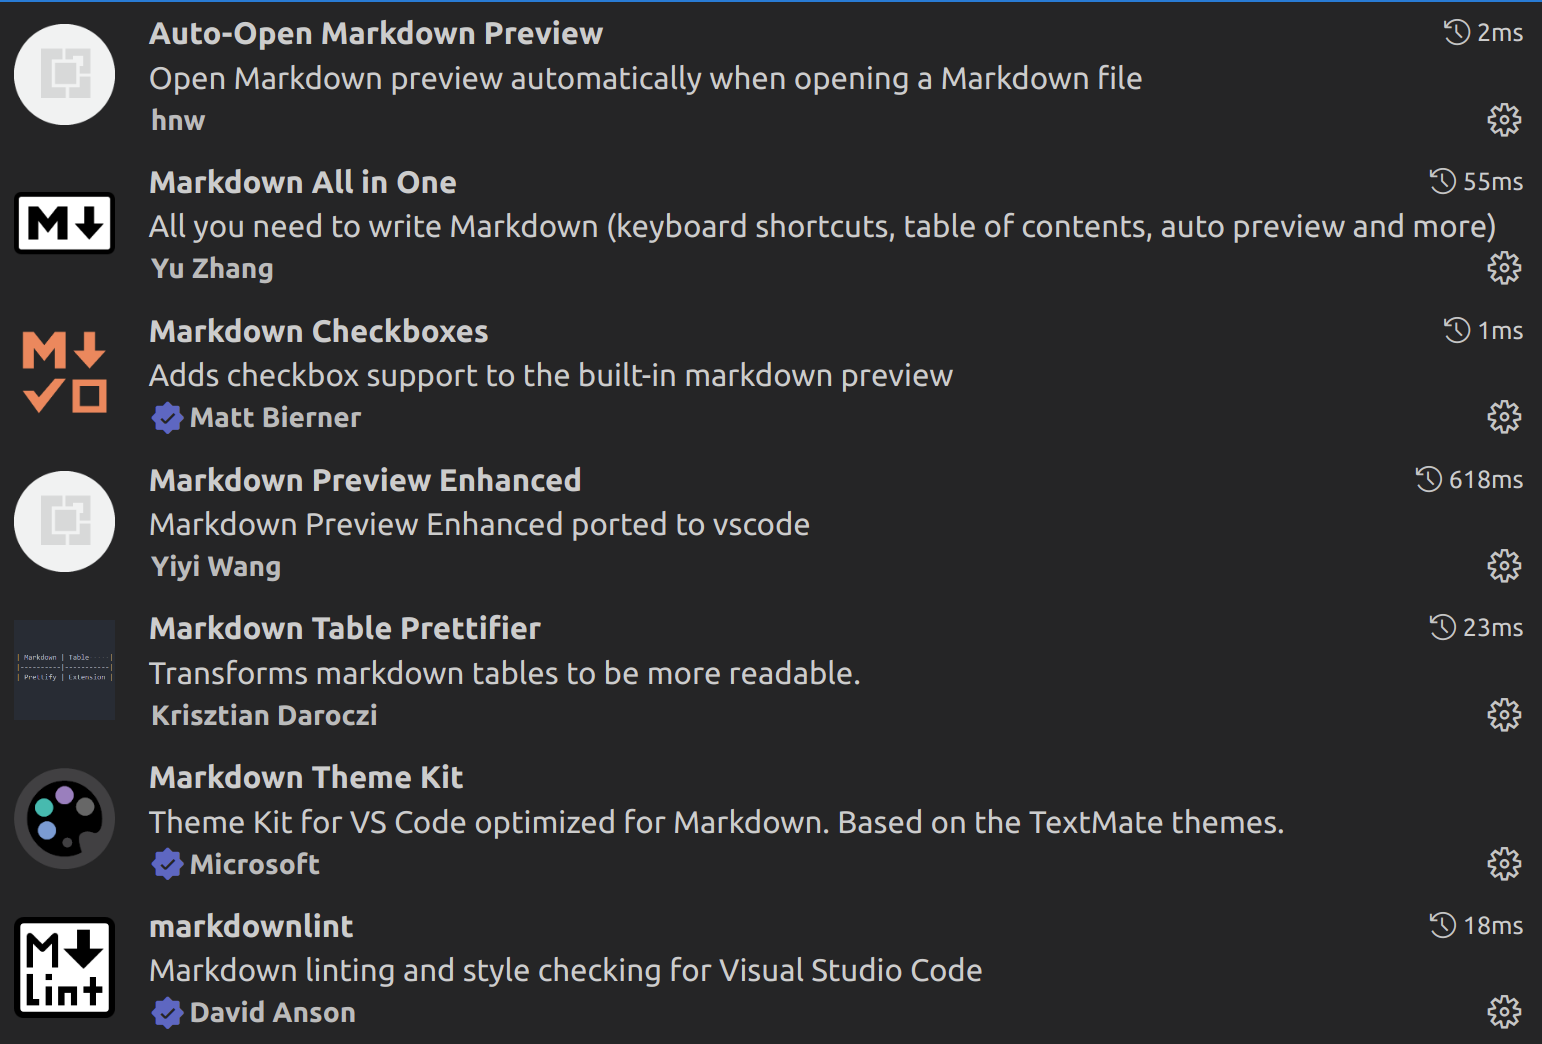
Markdown-all-in-one (opens new window)
Other extensions
Perhaps install some other extensions, such as:
- Prettier
- PowerShell
- the "Material Icon Theme"
- Github Copilot
Not related to Markdown:
If you use the Github Copilot (opens new window) extension, there can be keybinding conflicts. To solve them, use this:
  {
    "key": "tab",
    "command": "markdown.extension.onTabKey",
    "when": "editorTextFocus && !inlineSuggestionVisible && !editorReadonly && !editorTabMovesFocus && !hasOtherSuggestions && !hasSnippetCompletions && !inSnippetMode && !suggestWidgetVisible && editorLangId == 'markdown'"
  },
  {
    "key": "tab",
    "command": "-markdown.extension.onTabKey",
    "when": "editorTextFocus && !editorReadonly && !editorTabMovesFocus && !hasOtherSuggestions && !hasSnippetCompletions && !inSnippetMode && !suggestWidgetVisible && editorLangId == 'markdown'"
  }
2
3
4
5
6
7
8
9
10
Found here: Respect Inline Suggestion to improve compatibility with GitHub Copilot (opens new window)